How to Knock In an English Willow Bat: Step-by-Step Guide from a Meerut Manufacturer.
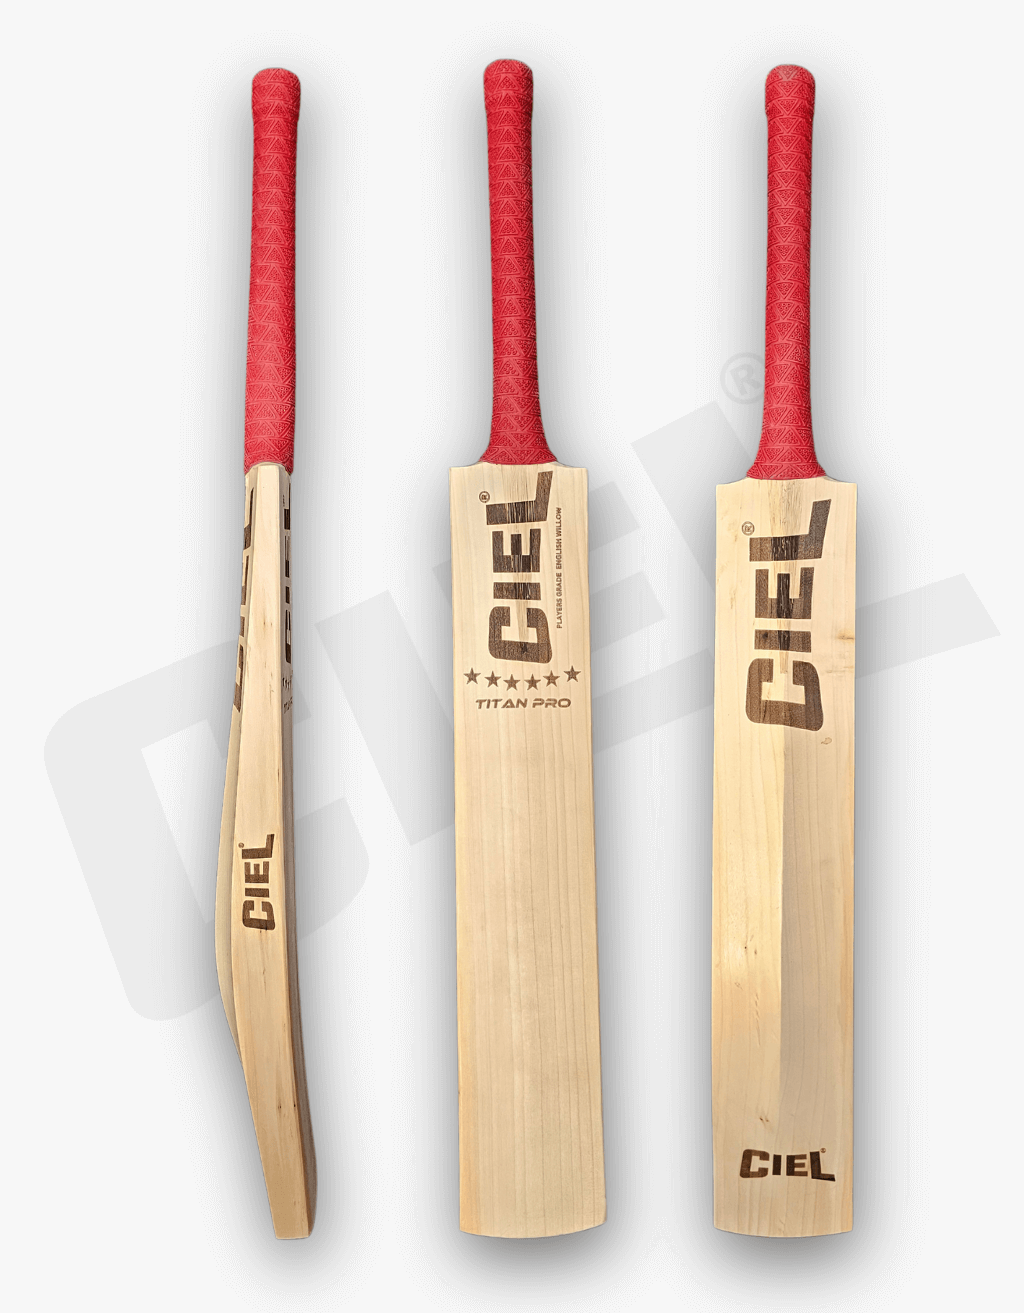
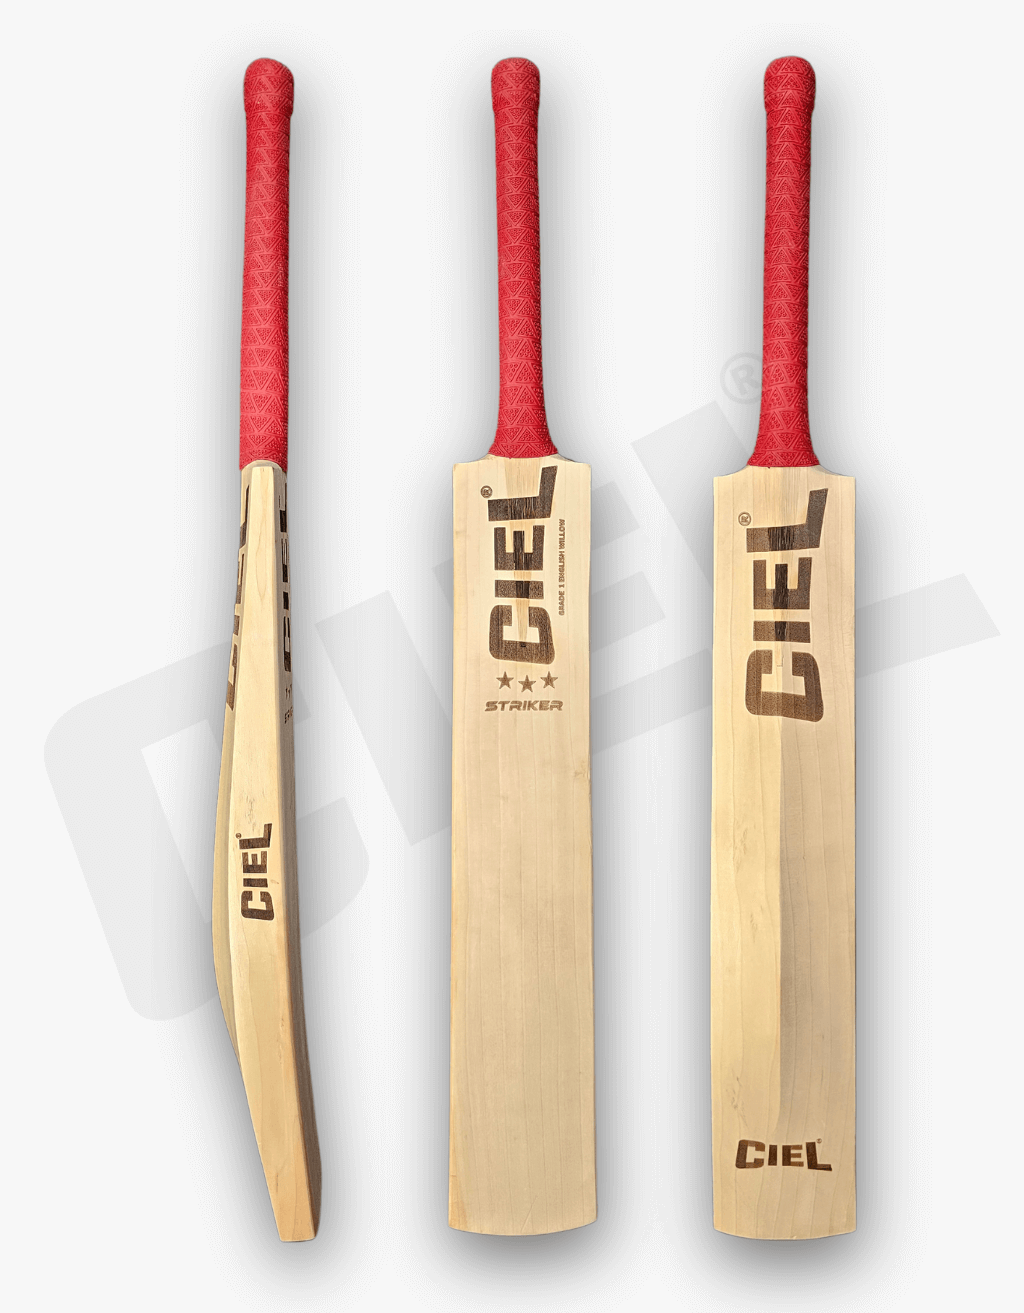
Every year, thousands of cricketers crack their brand-new English willow bat in the first session because they skipped or rushed the knock-in. We see it constantly — players who have spent ₹20,000–₹40,000 on a bat, taken one net session without preparation, and split the face clean down the grain. At Ciel Sports, we manufacture English willow bats in Meerut. This is the complete, manufacturer-honest guide to preparing yours the right way.
- Why does an English willow bat need knocking in? The real science
- Factory pressing vs home knock-in — what's the difference?
- What you need before you start
- The complete step-by-step knock-in process
- Session schedule — how to spread it across 10 days
- The part everyone gets wrong: edges and toe
- How to test if your bat is match-ready
- 8 mistakes that crack bats — and how to avoid every one
- After the knock-in: ongoing care through the season
- FAQ — 8 questions answered by the manufacturer
1. Why does an English willow bat need knocking in? The real science
English willow (Salix alba var. Caerulea) is used to make cricket bats precisely because it is a uniquely soft, fibrous, low-density wood with natural air pockets in its cellular structure. These air pockets are what give the bat its elastic "ping" when a leather ball makes contact. But those same properties — the softness, the porosity, the loosely-packed surface fibres — mean that a new bat's face is genuinely not ready to withstand a hard leather ball at full pace.
When a leather ball travelling at 80–140 km/h strikes an unprepared bat face, the loose surface fibres cannot distribute the impact force across the blade. Instead, the force concentrates at the contact point, collapses the fibre structure downward, and leaves a seam mark, dent, or in the worst case, a split running with the grain. The bat's face has not failed — it was simply never prepared to handle that load.
Knocking in is the process of systematically pre-compressing the bat's surface fibres using a wooden mallet — starting with light taps and gradually increasing to harder blows — until the entire face, both edges, and the toe have been conditioned to distribute and absorb the impact of a leather ball at match speed.
Many bats — including some from well-known brands — are labelled "pre-knocked" or "match-ready" on the packaging. This means the manufacturer has done some mallet work at the factory, typically 1–2 hours. It does not mean the bat is ready for competitive match cricket with a new leather ball. Even these bats need additional home knock-in before their first match use. A label says "pre-knocked." It does not say "fully knocked."
2. Factory pressing vs home knock-in — what's the difference?
This is the question we get asked most often by players who buy a Ciel Sports bat. If you've already pressed it 8 times at the factory, why do I still need to knock it in at home?
Factory hydraulic pressing uses a heavy roller under up to 2 tonnes per square inch of pressure that rolls across the face of the bat multiple times. It compresses the outer layer of fibres into a hard, dense surface and is what gives the bat its initial ping and its ability to perform from early in its life. Without pressing, a bat would take dozens of hours of knocking-in to reach the same surface hardness.
Home knock-in with a mallet does something different. The mallet's rounded head delivers localised compression — at the edges, at the toe, at the shoulders, and in specific zones of the face that a roller cannot reach with the same precision. More importantly, knocking-in progressively conditions the bat under real impact forces — teaching the fibres, over multiple sessions, to handle the specific stress of a cricket ball's seam at match pace.
- Factory pressing (6–8 stages at Ciel Sports): Compresses the face into a hard, performance-ready surface. Reduces home knock-in from 12+ hours to 6–8 hours. Gives the bat its initial ping from the first session. Does not reach the edges, toe, or deeper fibres.
- Home knock-in (your job): Conditions the edges and toe that the roller cannot reach. Progressively builds impact resistance through graduated force sessions. Tests and confirms the bat is genuinely match-ready. Cannot be skipped regardless of factory pressing level.
- Think of it this way: Factory pressing completes roughly 50% of the bat preparation. Home knock-in completes the remaining 50%. Both are essential. Neither replaces the other.
3. What you need before you start
You only need three things. Do not complicate this.
- Raw linseed oil — must be raw, not boiled. Boiled linseed oil dries too fast and can crack the fibres it is meant to protect. Available at most hardware or cricket stores for Rs.100–Rs.300. Two to three teaspoons is the correct amount for the first coat.
- A wooden bat mallet — specifically made for cricket bat knock-in, with a rounded head approximately the size of a cricket ball. Do not use a metal hammer, a hard rubber mallet, or any improvised tool. The wooden mallet delivers a controlled, ball-shaped impact that mimics real game contact.
- Old, worn leather cricket balls — for the testing phase after mallet work. Minimum 2–3 old balls. The seams must be worn down — not raised, not hardened. Never test with a new ball on a bat that is not fully knocked in.
- Never use boiled linseed oil — it dries too hard and can crack the surface fibres
- Never use a metal hammer or hard rubber mallet — will dent and damage the willow immediately
- Never use a new cricket ball — the hard raised seam will gouge the unprepared face
- Never knock against a wall or concrete — uncontrolled, asymmetric force will split the bat
- Never use a tennis ball bat mallet — too light to compress English willow effectively
4. The complete step-by-step knock-in process
Remove all packaging. Do not remove any protective face tape or anti-scuff sheet — leave those in place. Inspect the bat for any transit damage. Check the splice is tight. Run your hand down the face — it should feel smooth and firm. If the face looks very dry or pale, it needs oiling before anything else.
This is non-negotiable. Dry willow fibres crack under compression. Oil makes the fibres supple and able to knit together under mallet impact rather than split apart.
- Pour 2–3 teaspoons of raw linseed oil onto the face of the bat
- Spread evenly with your fingers or a soft cloth — face, edges, and toe
- Oil the back of the blade lightly — this is optional but beneficial Do NOT oil: the splice joint, the handle, the stickers, or any labelled areas
- Lay the bat face-up and horizontal — never upright. Oil must soak into the face, not run down to the splice Leave for 24 hours minimum. Do not rush this. The oil needs time to penetrate the fibres.
- Wipe off any excess oil sitting on the surface after 24 hours
For a bat without an anti-scuff sheet, repeat this oiling step two more times before starting mallet work — three coats total, each with 24 hours of drying time. For a bat with an anti-scuff sheet already fitted, one coat on the exposed edges and toe is sufficient.
After at least 24 hours of oiling, begin the first mallet session. This session is about familiarisation, not force. You are introducing the fibres to compression, not punishing them.
- Hold the bat steady on a padded surface (folded towel on a table) — face up
- Start at the centre of the face, near the sweet spot
- Use very light taps — no more than the weight of the mallet itself, no added force
- Work in overlapping rows, covering the entire face from shoulder to toe
- Duration: 15–20 minutes only. Stop here.
- The face should show the faintest compression marks — like a very slight dulling of the surface. That is correct.
Do not be tempted to hit harder. Rushing force at this stage is the single most common cause of bat cracking during knock-in.
Over the next 2–3 days, repeat the mallet sessions. Each session should be 30–45 minutes. Gradually — session by session — increase the force of your blows. By Session 4, you should be hitting with approximately 40–50% of your maximum force.
- Always cover the full face in overlapping rows — never focus only on the sweet spot
- Begin to work the edges and toe from Session 2 onwards (see Section 6 for technique)
- After Session 3, apply a second light coat of oil if the face looks dry
- The surface should begin to show clear, consistent compression — a slightly dull, flattened appearance across the whole face
- Listen to the sound: fresh willow produces a dull thud. As fibres compress, the sound becomes progressively crisper and more resonant.
By Session 5, you can increase to near-full mallet force. Continue the same methodical, full-face coverage. Sessions 5–8 complete the compression and prepare the bat for real ball contact.
- Full-force mallet blows across the entire face, edges, and toe
- Pay particular attention to the edges — these are the areas most likely to crack in a real match
- Each session: 45–60 minutes
- By the end of Session 8, the face should be visibly denser — a smooth, slightly compressed surface that does not dent easily under finger pressure
- Total mallet time across all sessions: 6–8 hours
After 6–8 hours of mallet work, do not take the bat straight to a match. Use old, worn leather balls for progressive throw-down testing over 2–3 sessions.
- Day 1 of testing: Gentle underarm throw-downs with an old ball. 15–20 minutes. Check for deep seam marks. If marks are deeper than 1mm, return to the mallet for another hour.
- Day 2 of testing: Medium-pace throw-downs. Gentle net session with an old ball. Check seam marks again.
- Day 3 of testing: Full-pace throw-downs. Hard nets with an old ball. If the bat handles this without deep seam marks — it is match-ready.
- Only when the bat passes the old-ball test should you use it with a new match ball in competitive play.
"We see more cracked bats from players using a new leather ball too early than from any other single cause. The bat is not broken — it was simply never ready. Six hours of patience with a mallet saves a ₹30,000 bat."
— Ciel Sports Manufacturing Team, Meerut5. Session schedule — how to spread it across 10 days
Here is the exact schedule we recommend for a new Ciel Sports English willow bat — or any English willow bat fresh from the factory. Follow this timeline and your bat will be genuinely match-ready by Day 10.
6. The part everyone gets wrong: edges and toe
Most guides tell you to knock in "the face." Most players do exactly that — and leave the edges and toe almost untouched. This is the number one cause of edge cracking in the first few weeks of match play.
Why edges crack
The edges of an English willow bat are the most mechanically vulnerable part of the blade. They are narrower than the face, they stick out beyond the pressed surface zone, and they receive direct contact from the ball far more often than most batters realise — on defensive shots, inside edges, outside edges to third man, and on any delivery where the bat face is angled. An edge that has not been properly rounded and compressed will crack the first time it takes a hard seam impact at pace.
How to knock in the edges correctly
- Hold the mallet at a 45-degree angle to the face — not 90 degrees (square-on). A 90-degree strike removes width from the bat and damages the unpressed wood beneath. A 45-degree glancing blow rounds the edge and compresses the fibres correctly.
- Work from the shoulder to the toe in overlapping glancing strokes — just as you would cover the face in rows
- Use lighter force on the edges than the face — they are thinner and more fragile. The edges need more sessions, not harder hits.
- After several sessions, the edge should feel rounded and smooth — the sharp factory edge should have a visible slight roundness to it
- Spend at least 30 minutes of your total knock-in time specifically on the edges — many players give them 5 minutes and consider it done
How to knock in the toe correctly
The toe is the most frequently forgotten zone. It is also the most likely to split on a yorker in the first few matches of the season. A yorker hits the toe at pace with the full force of the delivery. An unprepared toe will split.
- Tap the toe with light, glancing blows only — never direct downward strikes
- Angle the mallet so the blow travels at 45 degrees down the face toward the toe — not straight down onto the toe end
- The toe needs gradual conditioning — it is more prone to splitting than the face because it has no central spine support
- Fit a toe guard after knock-in is complete — this is inexpensive insurance against moisture entry at the most vulnerable point

7. How to test if your bat is match-ready
After completing the full knock-in schedule, use these three tests before taking the bat to a competitive match with a new leather ball.
The thumbnail test
Press your thumbnail firmly into the face of the bat — directly on the sweet spot. Apply real pressure for 3–4 seconds, then remove. If the indentation springs back immediately and leaves no visible mark, the surface fibres are well-compressed. If a clear dent remains, the bat needs more mallet work in that zone.
The old-ball seam test
Have someone throw an old leather ball at full pace directly onto the bat face — as hard as they can. Inspect the contact point. If you see only a shallow, faint surface impression from the seam, the bat is ready. If you see a clear, deep seam groove (deeper than 1mm), the bat needs more knocking in before facing a new match ball.
The sound test
Strike the sweet spot firmly with the mallet or an old ball. A fully knocked-in bat produces a clear, sharp, resonant ping. An under-prepared bat produces a dull, flat thud. The difference is obvious once you have heard both — the ping sounds alive; the thud sounds dead. Your bat should be producing the ping before it goes into a match.
- Thumbnail test passes — no dent on the sweet spot
- Thumbnail test passes on the edges — both left and right
- Old-ball seam marks are shallow (under 1mm) across the full face
- Bat produces a clear ping, not a dull thud, when struck
- At least 6 hours of mallet work completed across all sessions
- At least one full net session with old balls completed
- Toe guard fitted before first match use
- Anti-scuff sheet fitted (optional but strongly recommended)
8. The 8 mistakes that crack bats — and how to avoid every one
These are the eight mistakes we see most often — from players who message us after cracking their new bat. Every one of them is completely avoidable.
9. After the knock-in: ongoing care through the season
Once your bat is knocked in and match-ready, it needs ongoing care through the season to maintain its performance and extend its life.
Oiling through the season
Apply a very light coat of raw linseed oil to the face and edges every 4–6 weeks during the playing season, or whenever the face looks dry or pale. One teaspoon is enough. Always wipe off the excess after 24 hours. Avoid oiling immediately before a match — oil on the surface can affect ball handling.
After every match
- Wipe the bat clean with a dry cloth — remove mud, sweat, and ball marks
- Inspect the face and edges for new surface cracks. Hairline cracks running with the grain are normal. Cracks running across the grain are a warning sign — apply fibre tape immediately.
- Never put a wet bat into a kit bag — allow it to air dry in a cool, shaded place first
Storage
- Store in a cool, dry place at room temperature — never in a car boot, garage, or anywhere with extreme heat, cold, or humidity swings
- Always use a bat cover or bag — protects against knocks and moisture
- Store vertically with the toe off the ground, or horizontally face-up — never leaning at an angle which can cause warping
- Never leave the bat in direct sunlight for extended periods — UV exposure dries and cracks the willow
End of season care
Before storing the bat for the off-season, apply one coat of raw linseed oil to the face, edges, and back. Allow to fully absorb and dry. This prevents the willow from drying out during months of storage. When the new season begins, do a light re-inspection and apply another light coat before the first session.

10. Frequently asked questions — answered by the manufacturer
How long does it take to knock in an English willow cricket bat? +
Do I need to oil the bat before knocking it in? +
Can I use a ball instead of a mallet to knock in my bat? +
My Ciel Sports bat is already 6-stage pressed — do I still need to knock it in? +
What are the signs my bat is fully knocked in and match-ready? +
What should I never do when knocking in a bat? +
How do I knock in the edges without damaging them? +
Can I knock in a Kashmir willow bat the same way? +
Ready to buy your English willow bat?
Factory-direct from Meerut. 6–8 stage pressed. Grade 1, 1+ and Player Grade. Bespoke customisation available. Free shipping across India. Ships to UK, Australia, USA and 44+ countries.